8 Carry position options for your baby carrier
Every pro was once a beginner.
You and your baby are trying something new and exciting, so give yourself enough time and grace to get it down.
Try putting on the carrier at home, with baby (and parent ideally) fed and rested. If baby starts getting fussy, take a short walk around the house and a few breaths, and continue when you're both ready.
Adjust all the straps for a snug fit and once positioned correctly, your baby should be high on your chest, and the carry should feel secure, like when you're holding them in your arms.
Have fun with your little one!
Infant insert

Position 1
For babies 7-10 lbs, snap the sides of your infant insert together, forming a ball shape. Your baby's legs should be in the fetal tuck position around the infant insert.

Position 2
For babies 10 - 15 lbs, leave the infant insert open. Your baby's legs should be in an M position around the unsnapped infant insert.

Insert removed
For babies 15 lbs and up, detach and remove the infant insert entirely. Your baby's legs should wrap around your waist and hang over the waist belt outside of the carrier panel.
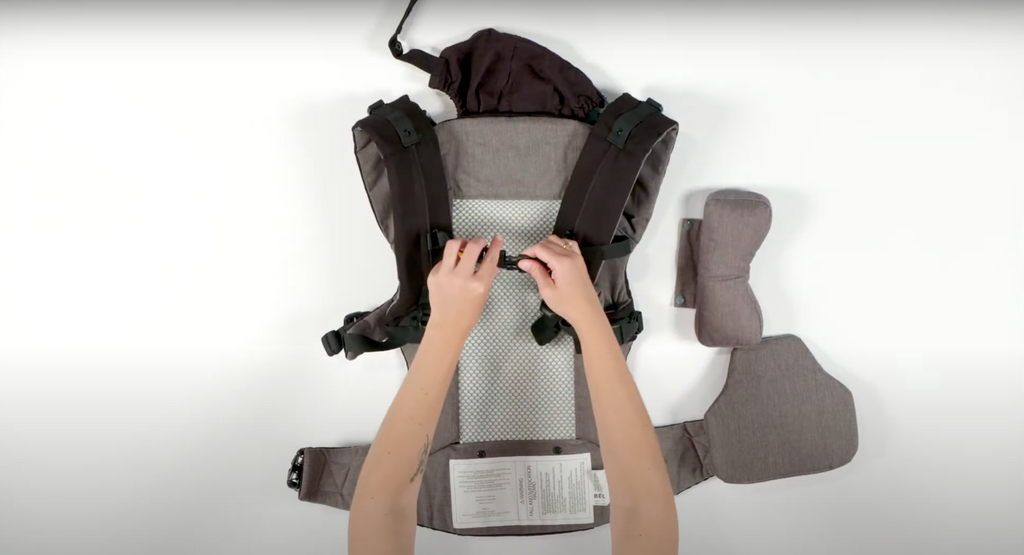
adjustable seat

Your Beco Eight Baby Carrier features an adjustable seat with two width options. When carrying your baby in a front carry facing out position, use the narrow seat option.

Narrow Setting
Attach seat snaps together in front of your carrier centered above the waist best.

wide setting
To switch to the wide seat option, open the seat snaps and attach to the back of the waist belt. Tuck the seat connecting snaps into the interior snap storage opening on the inside of the waist belt.

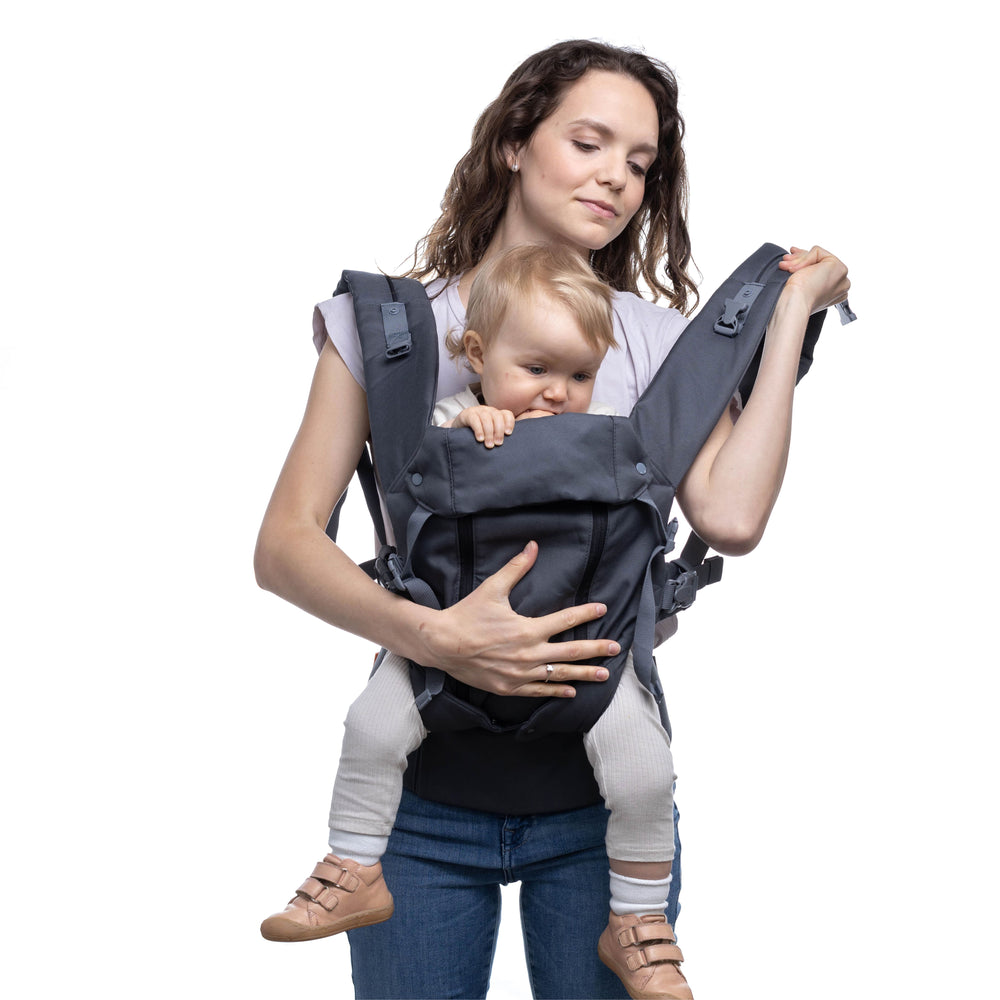
1. Front Carry Facing In
+ Use the snaps to adjust the seat width to fit your baby comfortably.
+ Buckle the waist belt around your natural waist.
+ Hold baby in your arms and pull the panel of the carrier over their back.
+ Bring shoulder straps over your shoulders, buckle the chest strap and tighten as needed.
2. Front Carry Facing Out
For babies with full head and neck control (6+ months) and for limited amounts of wake time.
+ Use the snaps to set the seat width to a narrow setting.
+ Buckle the waist belt around your natural waist.
+ Fold headrest down.
+ Hold baby on your front and bring the panel of the carrier over their back.
+ Bring shoulder straps over your shoulders, buckle the back strap and tighten as needed!
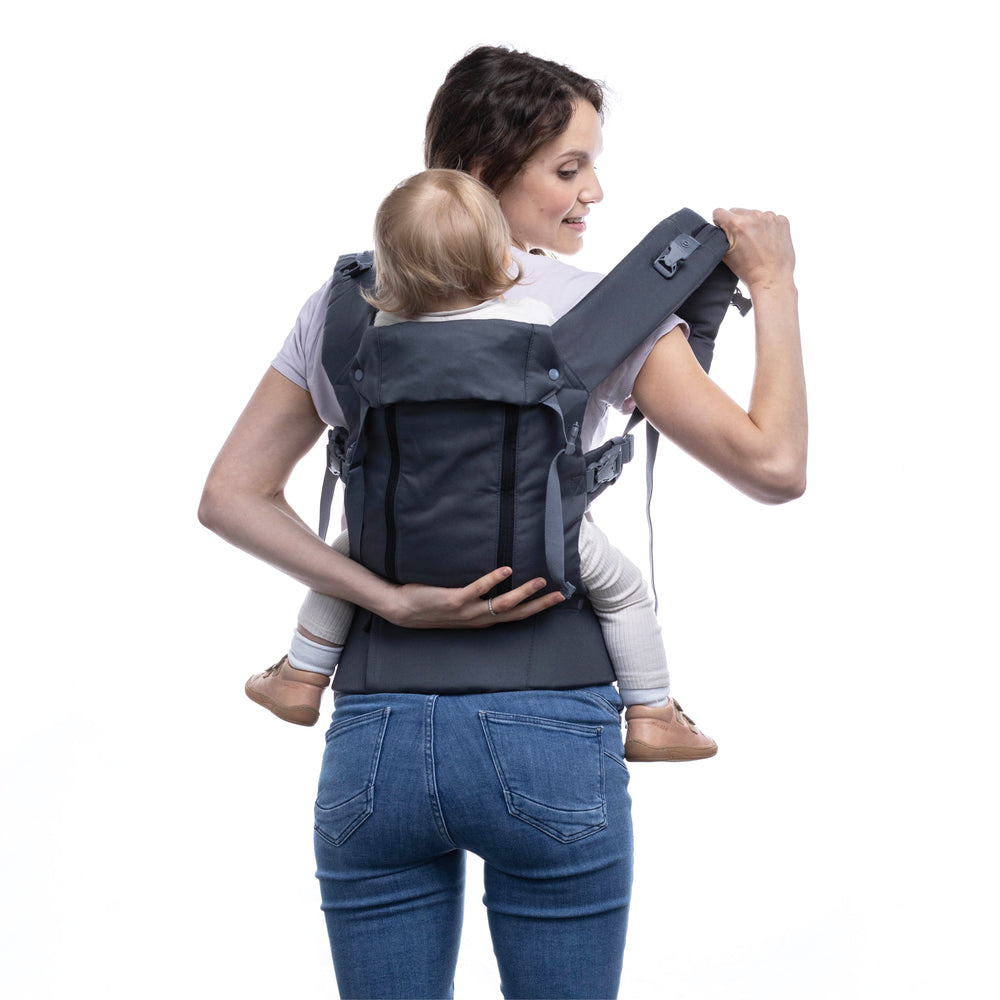
3. Back Carry
For babies with full head and neck control and can sit unassisted (6+ months)
+ Adjust the seat width to the wide setting
+ Buckle the waist belt around your natural waist.
+ Put baby on your back using one of your preferred techniques
+ Pull the panel over their back and bring shoulder straps over your shoulders
+ Buckle the chest strap and tighten as needed!
For best results, practice getting baby on your back without a carrier first!
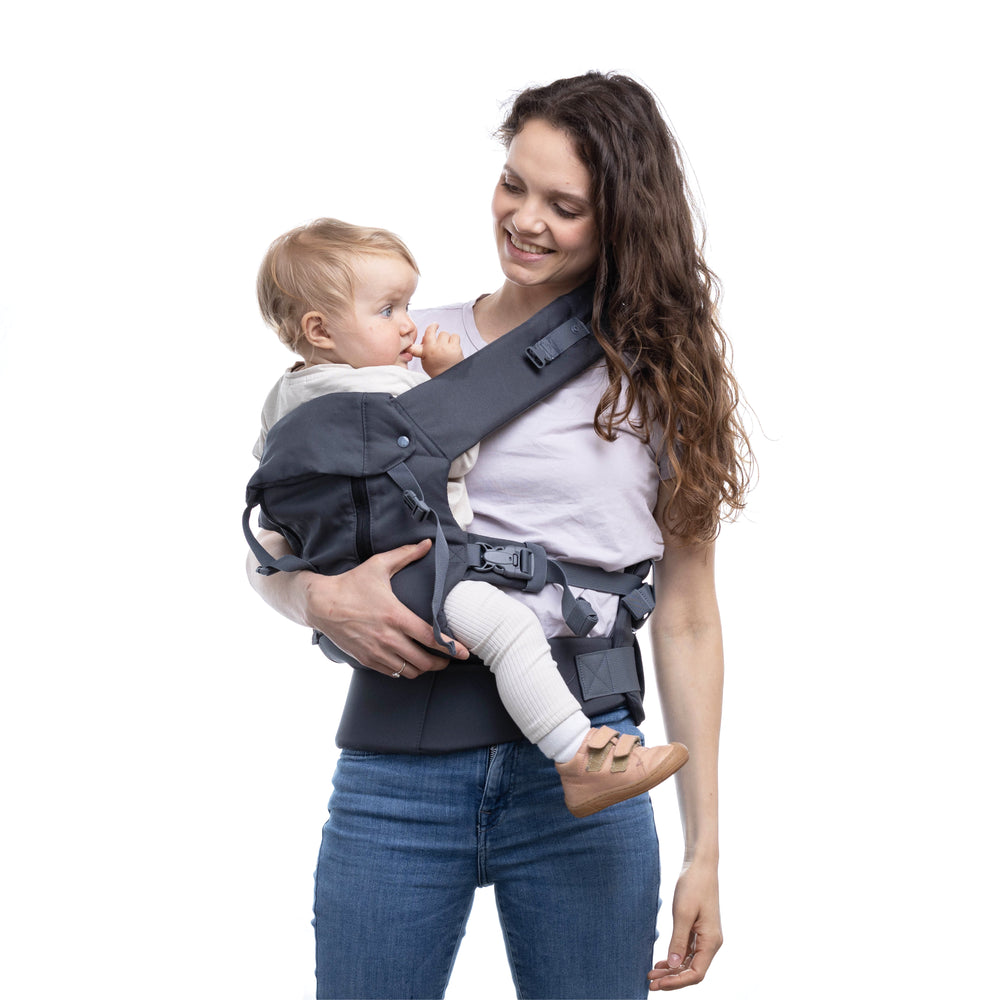
4. Hip Carry
For babies with full head and neck control only (4+ months).
+ Adjust the seat width to the wide setting
+ Buckle the waist belt around your natural waist with the panel at your hip.
+ Hold baby on your hip as you would hold them in your arms.
+ Pull the panel over their back and bring one of the shoulder straps over your shoulder and around your torso.
+ Bring the other shoulder strap around your torso.
+ Tighten as needed.

The T.I.C.K.S Rule for Safe Babywearing
Source: UK Sling Consortium
Tight: Slings & carriers should be tight enough to hug your baby close to you, as this will be most comfortable for you both. Any slack/loose fabric will allow your baby to slump down in the carrier which can hinder their breathing and pull on your back.
In View at all times: You should always be able to see your baby’s face by simply glancing down. The fabric of a sling or carrier should not close around them so you have to open it to check on them. In a cradle position your baby should face upwards not be turned in towards your body.
Close enough to kiss: Your baby’s head should be as close to your chin as is comfortable. By tipping your head forward you should be able to kiss your baby on the head or forehead.
Keep Chin off Chest: A baby should never be curled so their chin is forced onto their chest, as this can restrict their breathing. Ensure there is always a space of at least a finger width under your baby’s chin.
Supported Back: In an upright carry, a baby should be held comfortably close to the wearer, so their back is supported in its natural position and their tummy and chest are against you. If a sling is too loose, they can slump which can partially close their airway.
(This can be tested by placing a hand on your baby’s back and pressing gently – they should not uncurl or move closer to you.)
A baby in a cradle carry in a pouch or ring sling should be positioned carefully with their bottom in the deepest part, so the sling does not fold them in half pressing their chin to their chest.
If you still have questions, we recommend finding your local sling library and book a consultation with a babywearing consultant.